October is National Breast Cancer Awareness Month, an Annual Campaign to increase awareness of the disease. Most people are aware of Breast Cancer, but sometimes forget to have a plan to detect the disease in its early stages. Annual Mammograms should be scheduled with your healthcare provider to identify any changes.
Most of us have a family member, friend or co-worker who has been diagnosed with Breast Cancer and the emotional and physical pain they have endured to beat this disease. One of my best friends was diagnosed with Breast Cancer this past summer. It has been almost three months of her visiting the Cancer Center every morning to receive the radiation treatments. She just finished her treatments and the prognosis looks good.
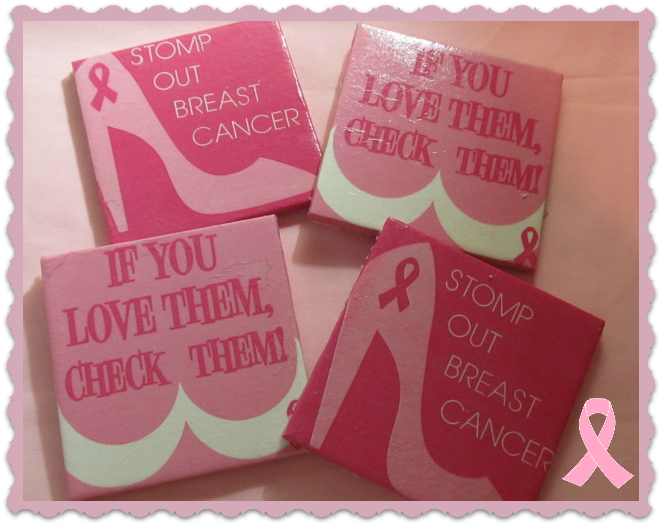
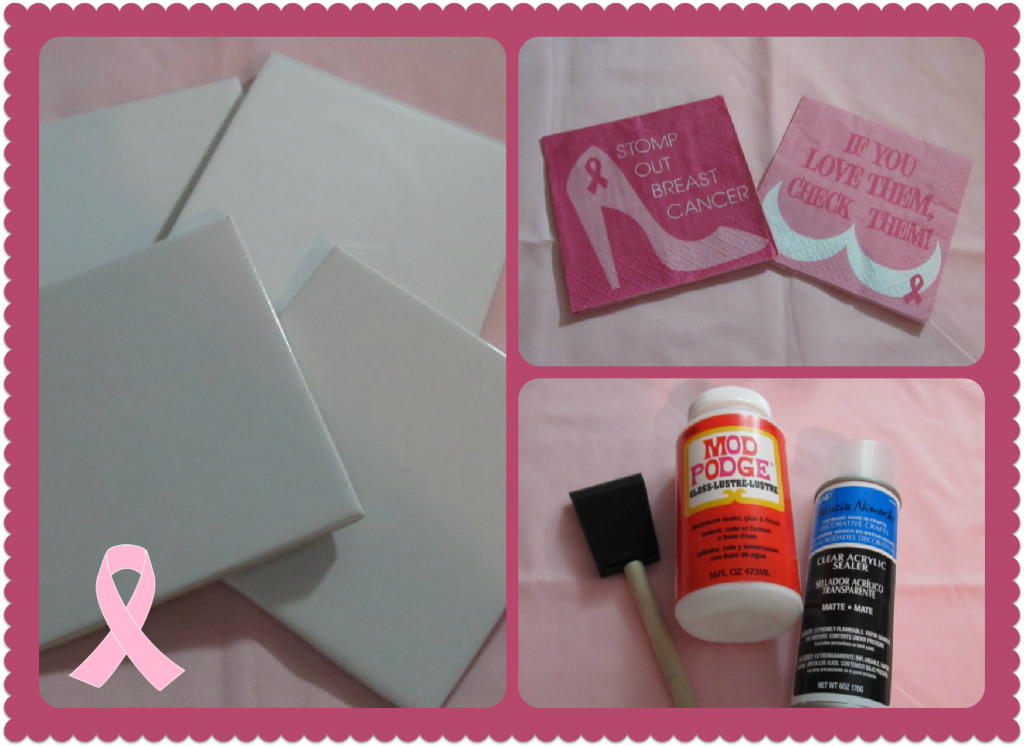
On a trip to Wal-Mart, I stumbled upon two packages of Breast Cancer Awareness napkins. Immediately I grabbed them and thought about creating coasters for my friend.
Materials:
- 4 - 4" Square Ceramic Tiles; purchased at Home Depot for 16 cents each
- Decorative Napkins
- Mod Podge
- Foam Brush
- Clear Acrylic Sealer
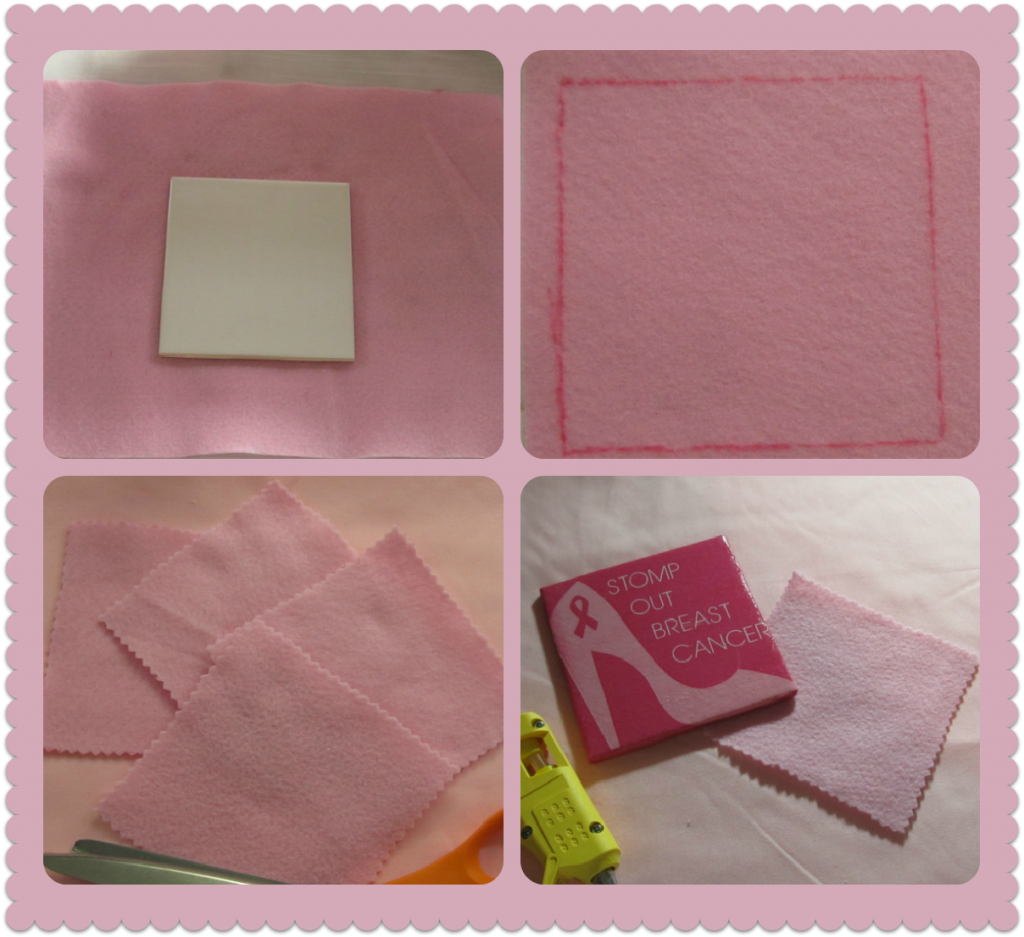
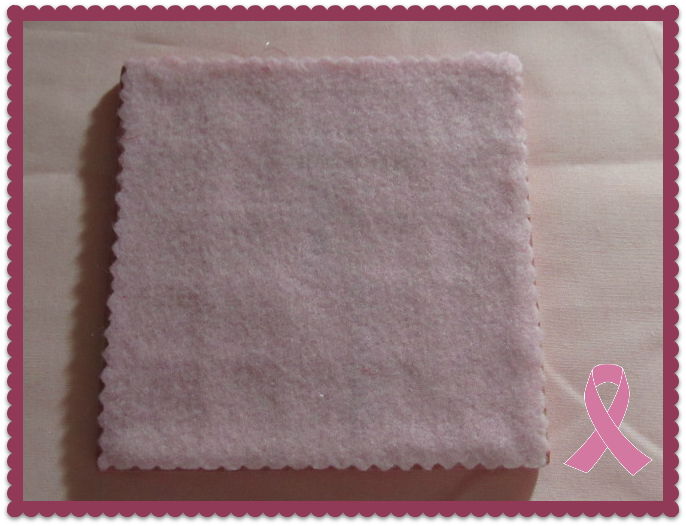
- Pink Felt
- Pair of Tweezers
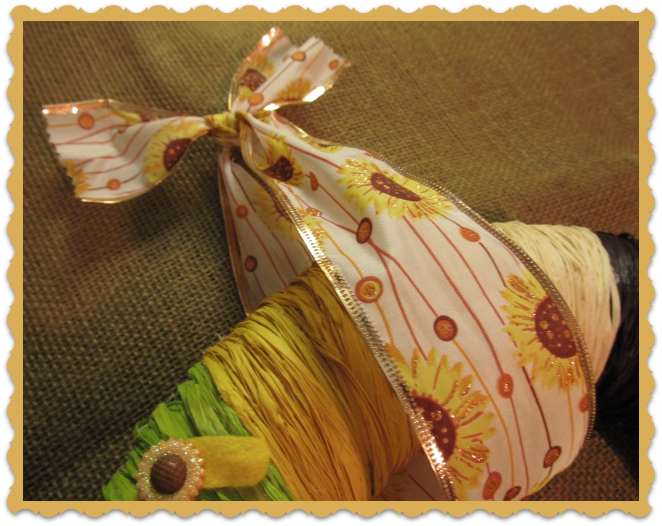
- Pink Ribbon
Instructions:
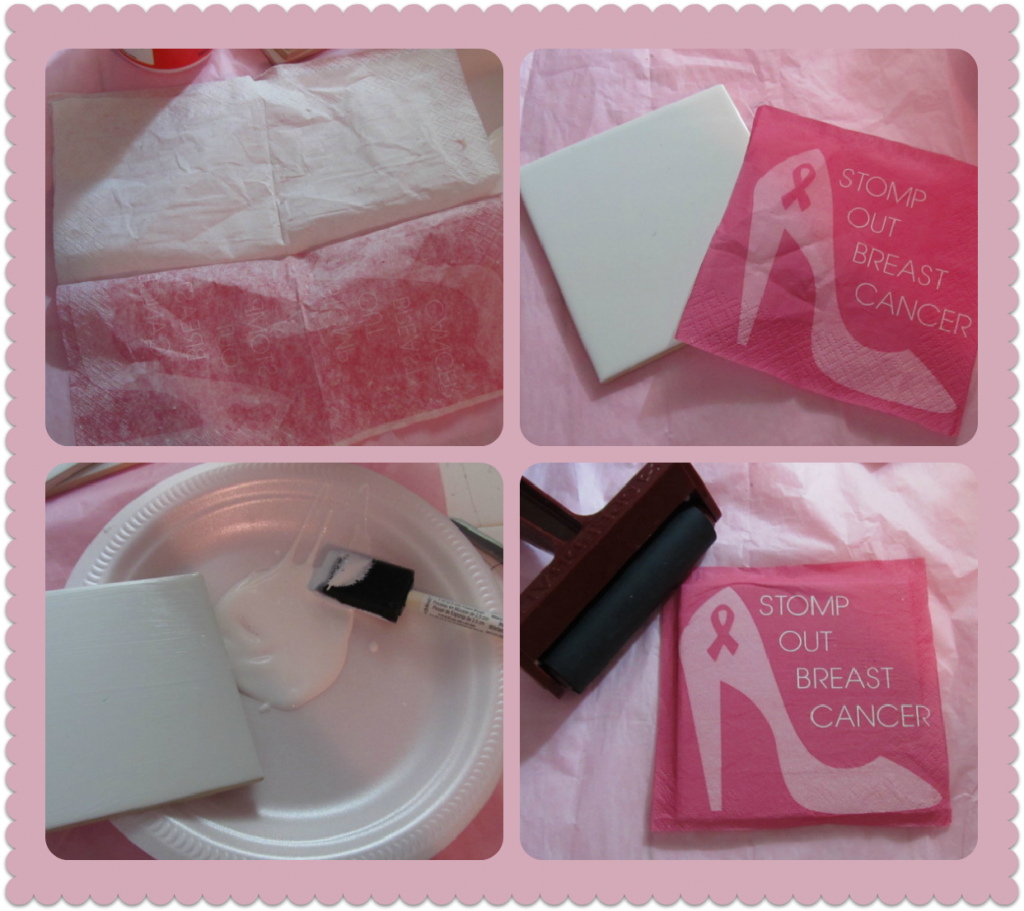
- Using Tweezers, remove the outer layer of each Napkin.
- Apply a thin coat of Mod Podge all over the tile.
- Apply Napkin to tile. Smooth out with the brush or your fingers or a Brayer to smooth the surface and remove air bubbles.
- Fold the napkin edges towards the back of the tile. Smooth with the foam brush. Let it dry 5-10 minutes.
- Apply 2 more coats of Mod Podge all over the tile. Let dry 5-10 minutes between coats. Let dry completely before spraying the Acrylic Sealer.
- Trace tile onto the Pink Felt.
- Following traced lines, cut felt squares. I use my pinking shears to add a decorative edge to the squares.
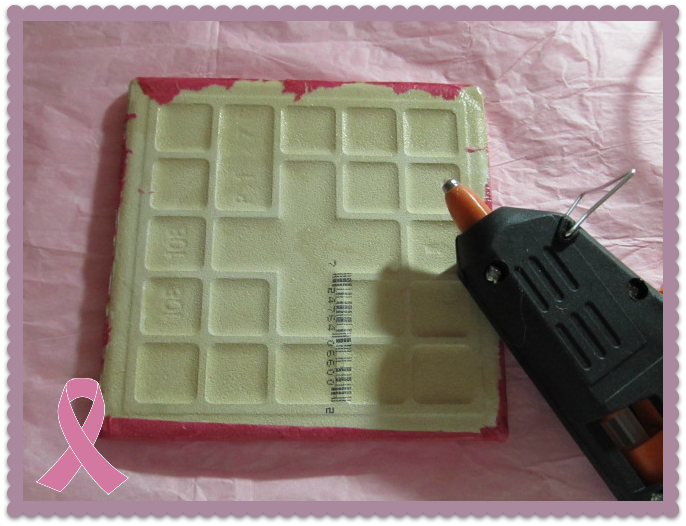
- Using hot glue gun, apply felt square to tile's back section.
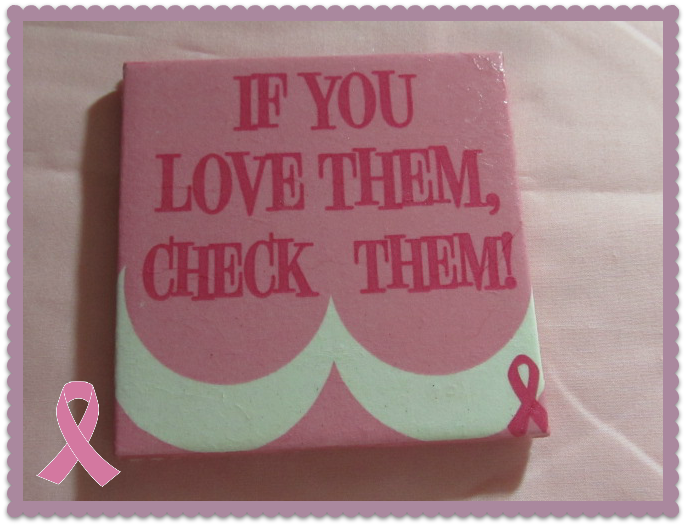
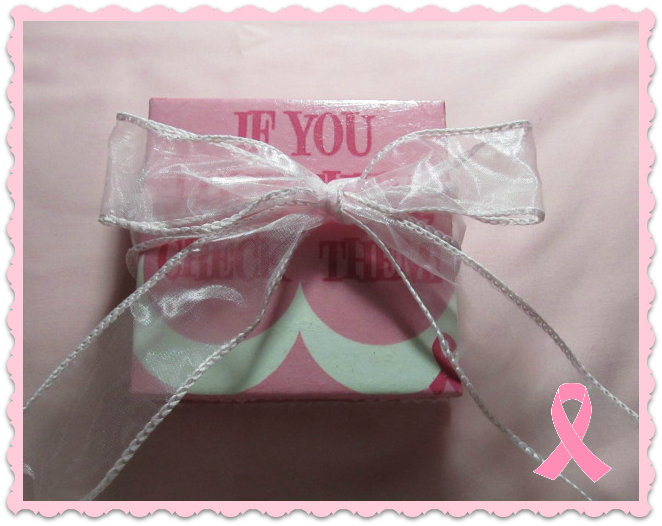
I love how these coasters turned out. I decided to wrap them with a Pink Ribbon to present them to my best friend. I hope she loves them. Please get involved and inspired others to help fight this disease every day of the year.
debbie-debbiedoos