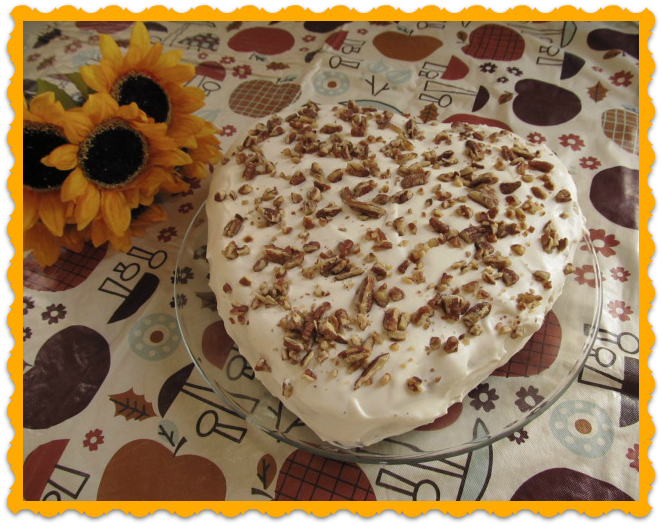
My recipe consists of a Peanut Butter Cheesecake combined with a Pecan Shortbread Crust and Whipped Cream Topping.
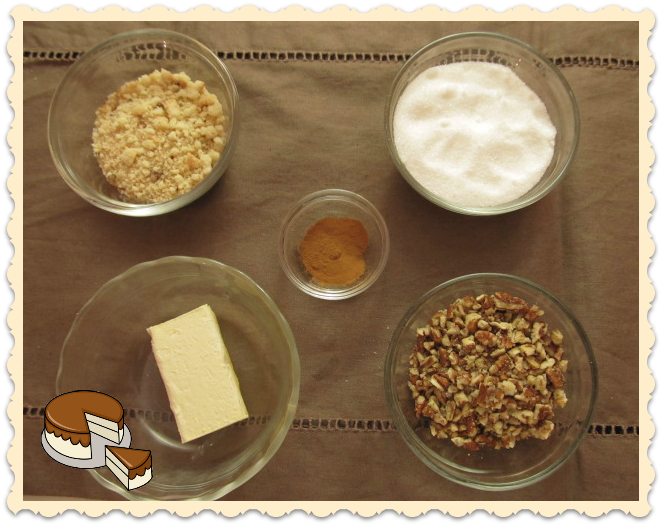
- Pecan Shortbread Crust:
- 1 1/3 cup pecan shortbread cookie crumbs - about 1 (5.0 oz. pkg.)
- 3/4 cup chopped roasted pecans
- 2 Tbsp. sugar
- 1 Tsp. cinnamon
- 3 Tbsp. unsalted butter, melted
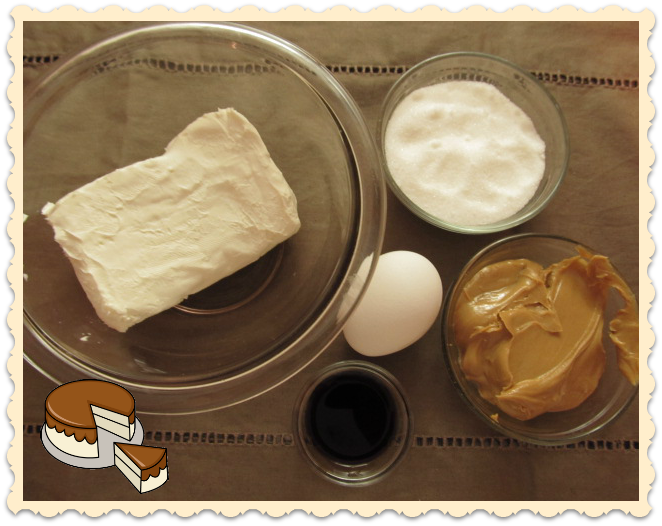
- Filling:
- 2 pkgs (8oz.) cream cheese, softened
- 1 cup peanut butter
- 3/4 cup sugar
- 2 eggs
- 1 tsp. vanilla extract
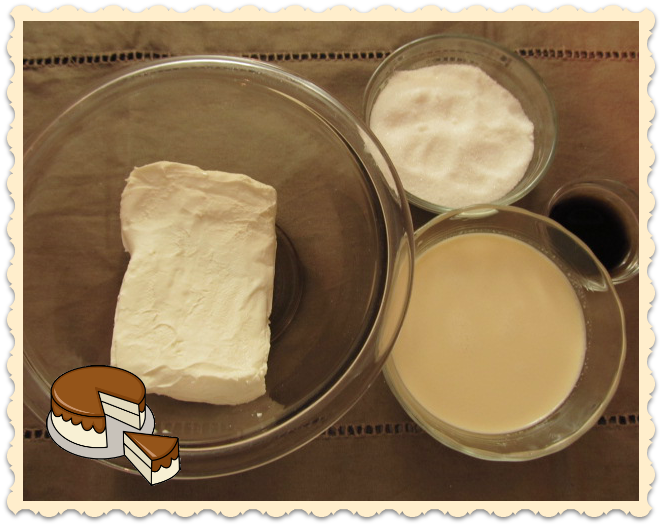
- Topping:
- 2 oz. cream cheese - softened
- 1 1/2 tbsp. sugar
- 1 tsp. vanilla extract
- 1 cup heavy whipping cream
- Preheat oven to 325°F.
- Wrap the outside of a 10" springform pan with heavy duty foil. My pan happens to be in a heart shape, but you can also use a round shape pan.
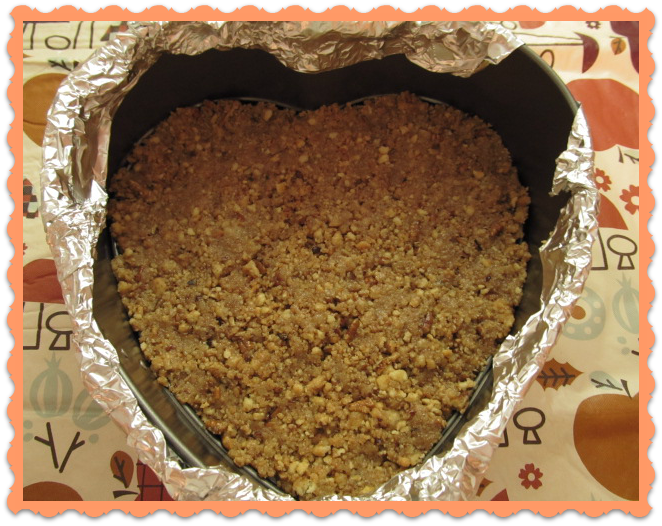
- Crust:
- Pulse shortbread cookies in a food processor or place cookies in a plastic bag and crush using a rolling pin.
- Combine cookie crumbs and other dry ingredients in a small bowl. Stir in melted butter and mix using a fork.
- Press into bottom of pan.
- Bake 15 minutes or until edges are lightly browned; remove from oven, let cool.
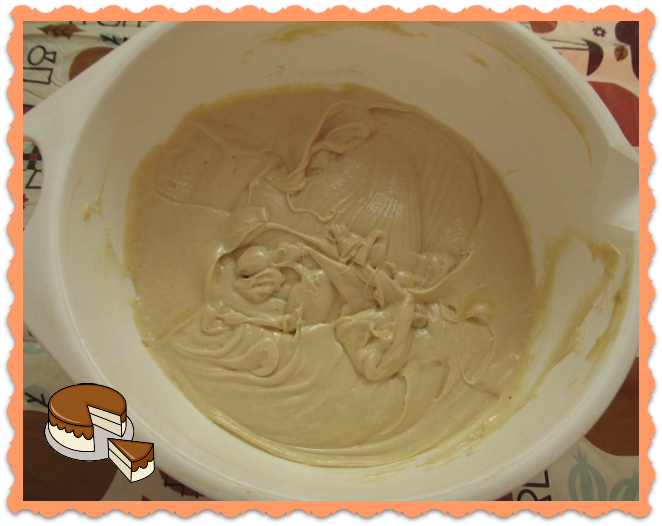
- Filling:
- Beat cream cheese and sugar for one minute until smooth.
- Add peanut butter and beat until just combined.
- Add vanilla and eggs; one at a time. Beat until blended.
- Poor mixture over crust.
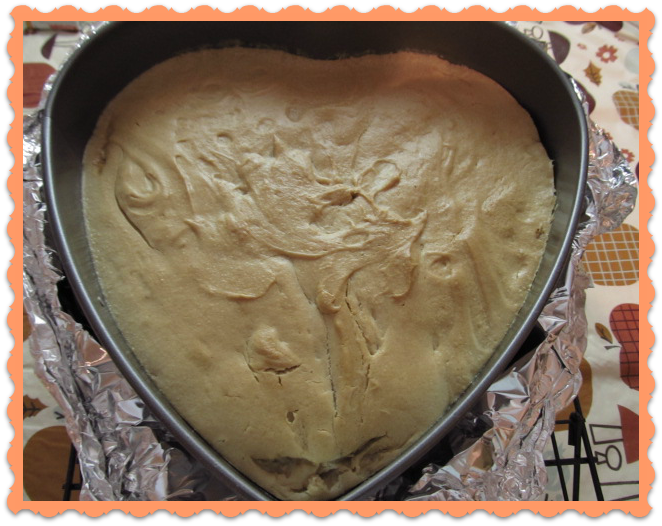
- Place springform in a large shallow roasting pan. Add enough hot water to cover pan half-way.
- Bake 55-60 minutes or until top is golden brown.
- Remove pan from water bath. Remove foil.
- Cool on wire rack at room temperature for about 2 hours.

- Topping:
- Mix first 3 ingredients and beat at low speed until blended.
- Slowly add whipping cream and increase speed to medium-low.
- Increase speed to just medium; beat until firm peaks form.
- Swirl topping over cheesecake.
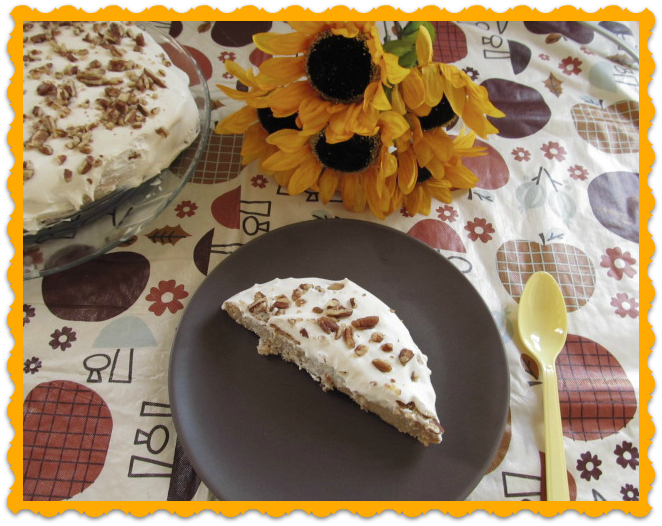
Creamy peanut butter and rich sweetened cream cheese are delicious on their own, but when combined with a pecan shortbread crust for this cheesecake, they add up to something even more wonderful. Enjoy it!!!
HAPPY FALL!!!

debbie-debbiedoos