I am super excited to participate in this Month's Pinspired and Rewired Blog Series contest. This month's Theme is my latest craft passion; Washi Tape.
For this contest, the project must be inspired by a Washi Tape project found in Pinterest. The Linky Party Contest will be held from May 18 -23.

 |  |
 |  |
My project inspiration came from a Washi Tape Tile Coaster project I pinned from DesignsDreamsJapan.com

I modified the project by creating sweet Cupcake and Ice Cream Cone images from Washi Tape which I applied to the center of each tile.
Let's begin.....
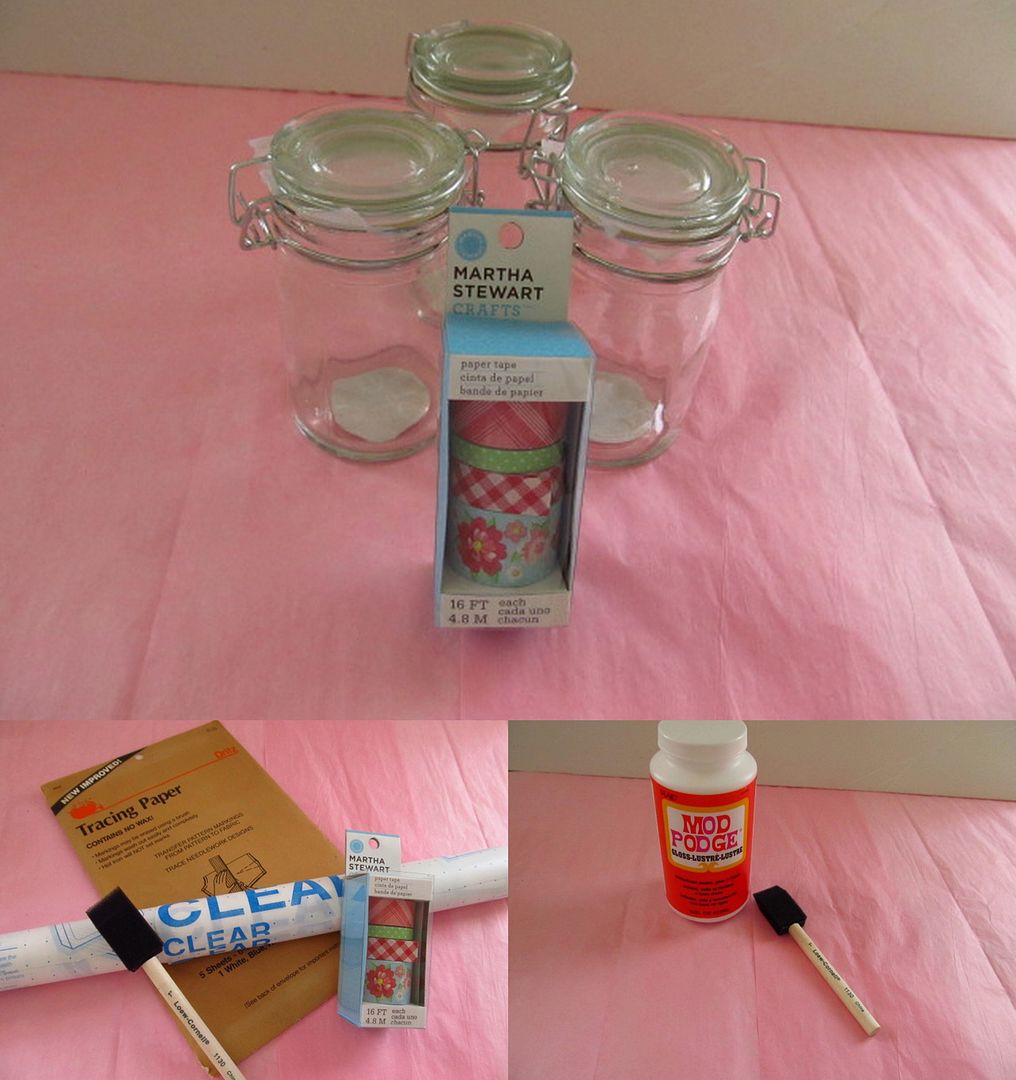
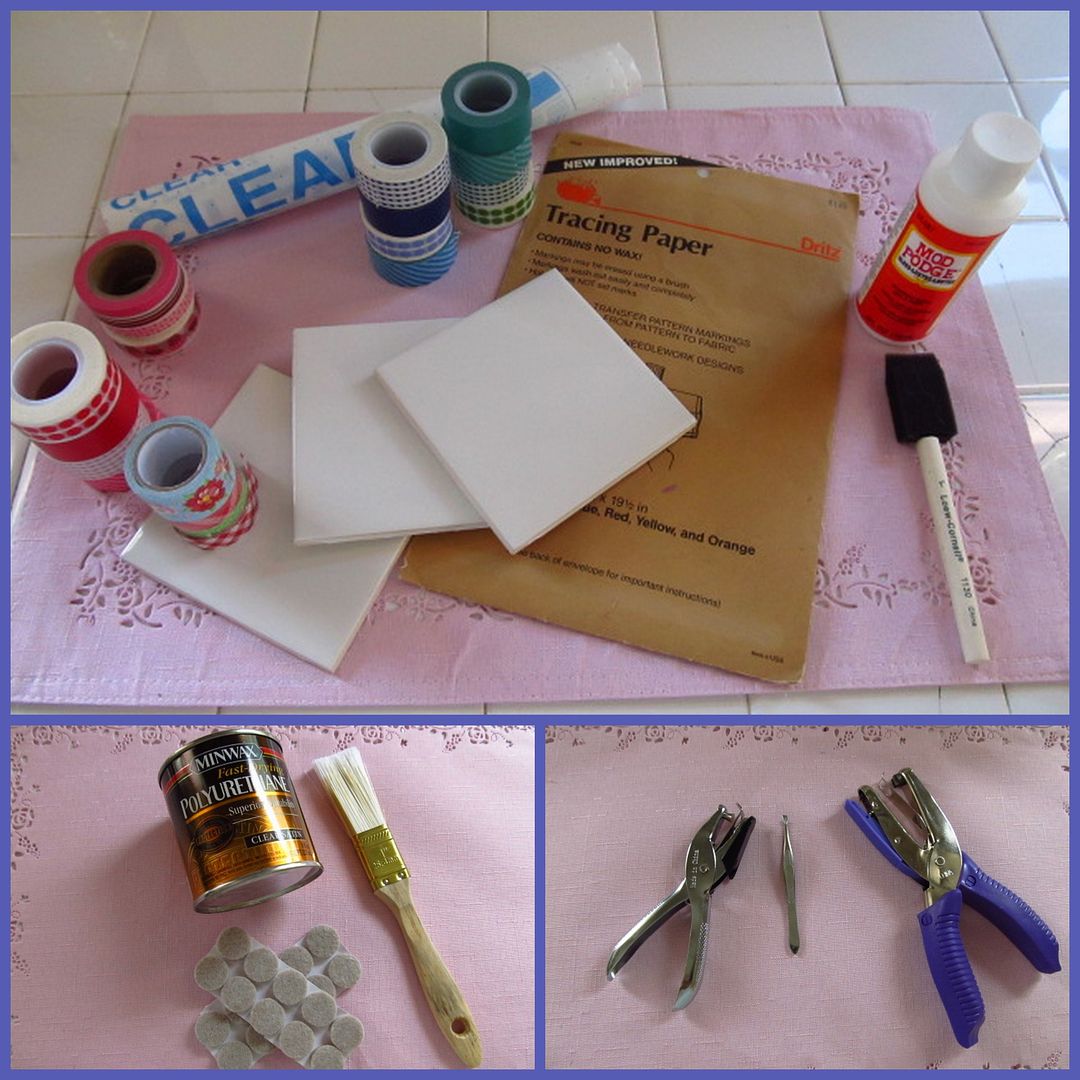
Materials:
- 4 - 4" Square Ceramic Tiles; purchased at Home Depot for 16 cents each.
- Washi Tape
- Scrapbook Paper - Photo Burlap (design name).
I was fortunate to find this paper at Michaels, which resembles an ice cream cone's texture. - Contact Paper
- Tracing Paper
- Mod Podge/Foam Brush
- Single Hole Punch
- Ribbon 2" Reach Punch by McGill, purchased at ACMoore.
- Pair of Tweezers
- Polyurethane - I used Minwax Clear Satin
- Small Paint Brush
- Self Stick Heavy Duty Felt Circles
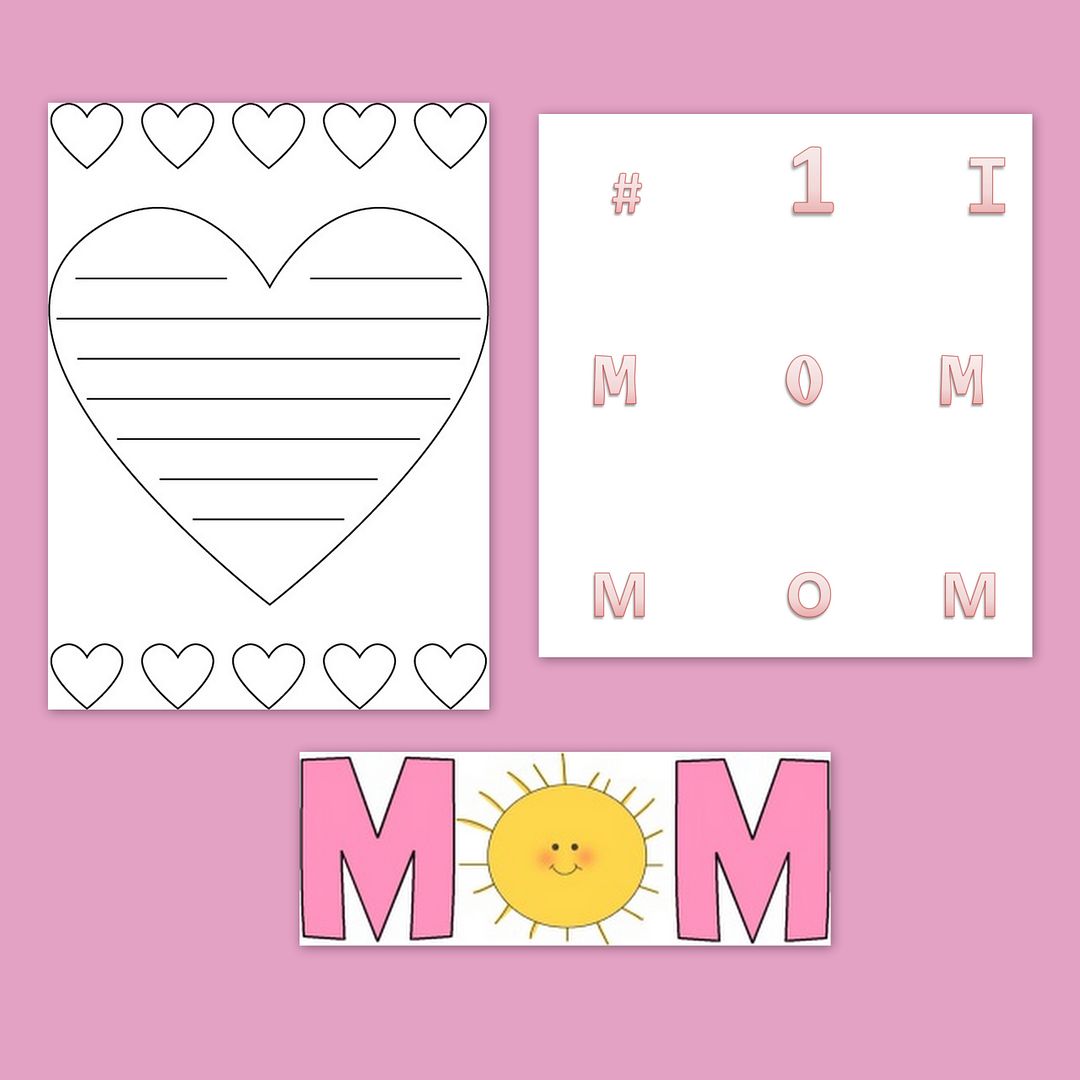
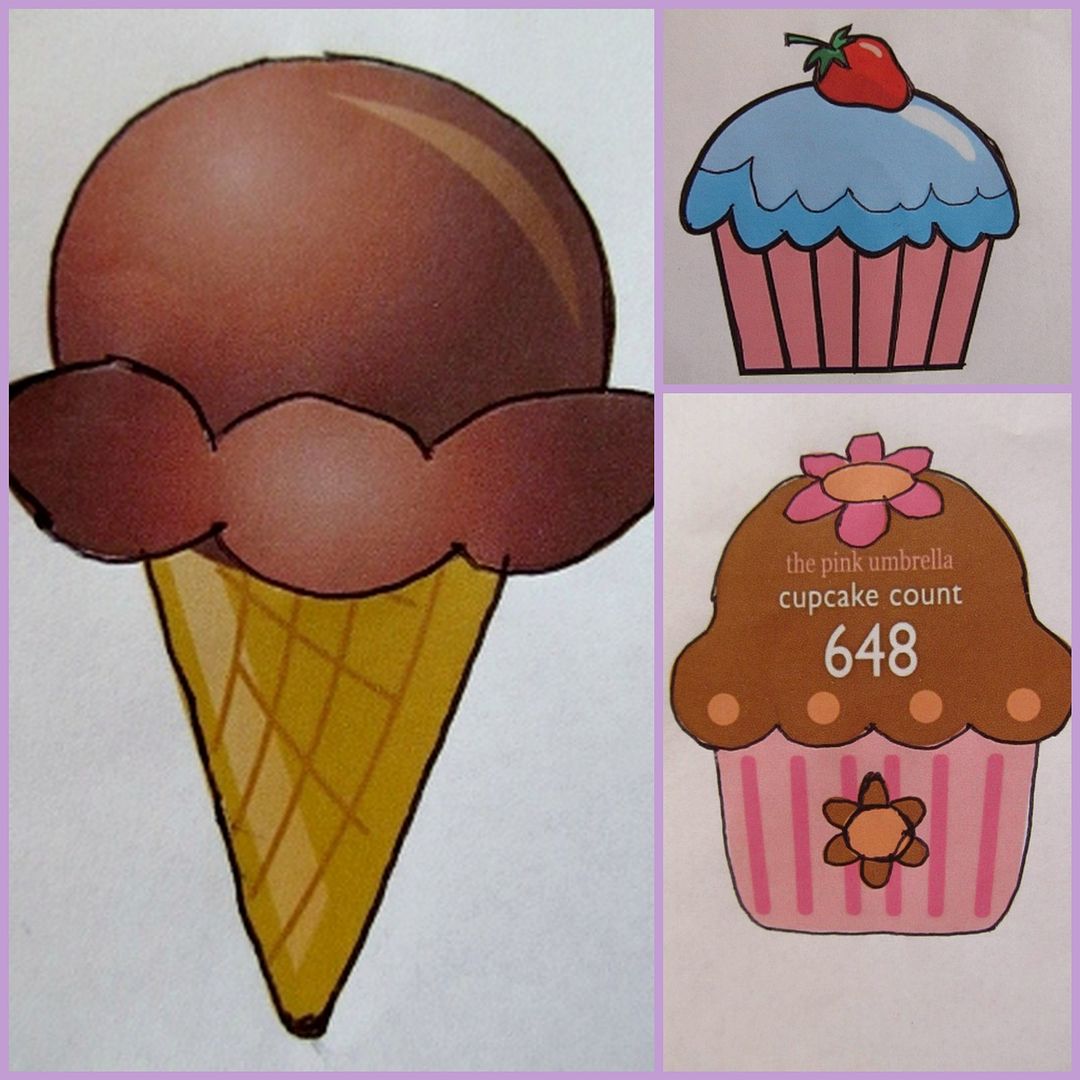
- Graphics. I found the Cupcake and Ice Cream Cone images online.
- Clean your tiles with bathroom cleaner to get rid of any dust. Let the tiles dry completely.
- Start adding your Washi Tape across the tiles.
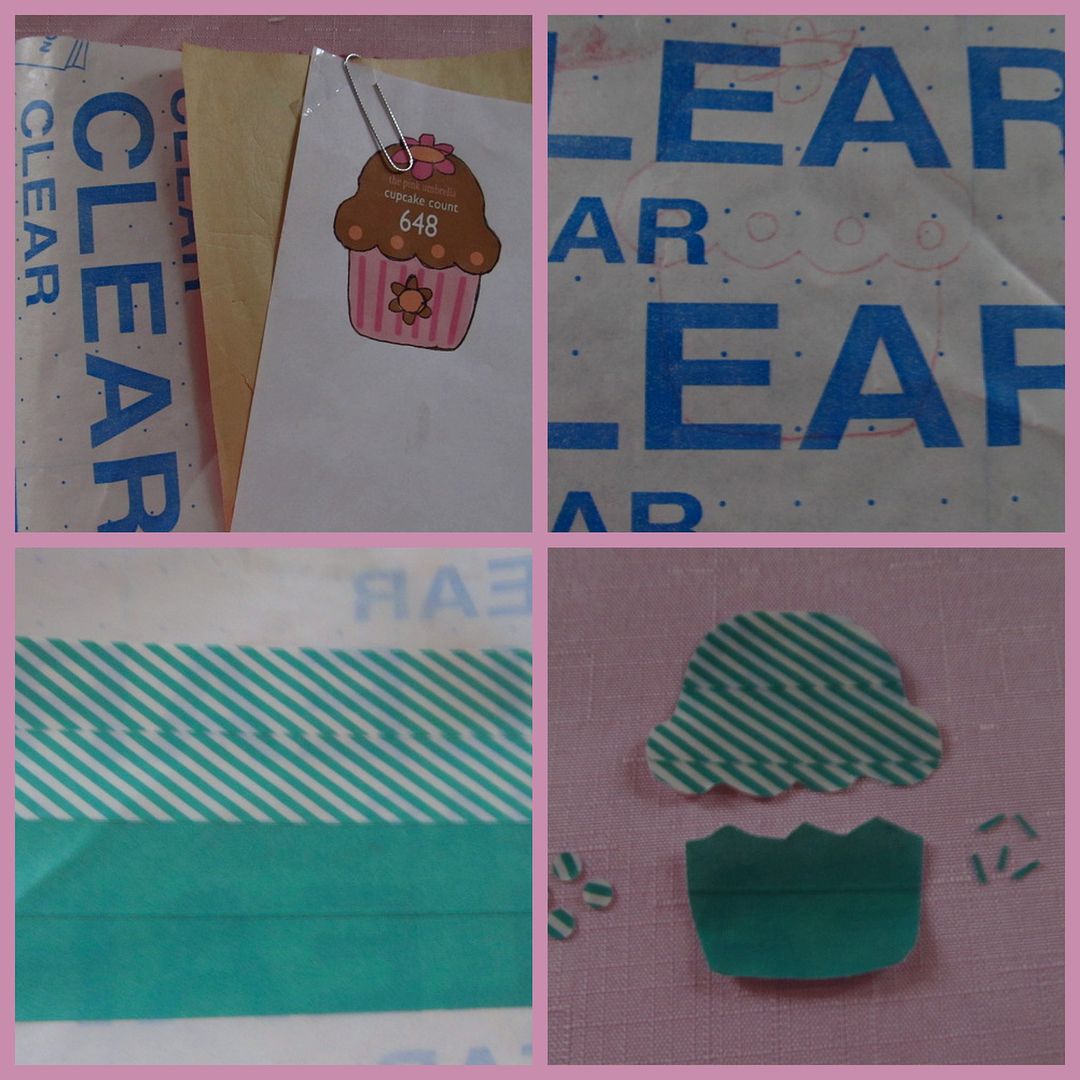
- Trace your Graphics using the Tracing and Contact papers by creating layers. Lay the contact paper with backing facing up; add tracing paper and finally your graphics.
- Flip Contact paper over. Apply Washi-tape to cover your traced graphics. For the Cupcakes and Ice Cream Scoops I used Washi Tape. For the Cones, I used the Scrapbook paper since I did not have any brown Washi Tape.
- Cut your graphics around the traced lines. For the Cupcakes and Ice Cream Cones I cut each section individually separating the scoops from the cones; the frosting from the cupcakes.
- For the Cupcake Sprinkles and Ice Cream Toppings, I applied Washi Tape to a piece of Contact Paper and punched the pieces using the Single Hole and Ribbon Punches. To separate these small pieces from the contact paper, I used the tweezers.
- Begin attaching your graphics in sections. The cones were applied using Mod Podge. The Ice Cream Scoops, Cupcakes and Frosting were simply taped to the tiles.
- Apply the Sprinkles and Toppings randomly over the Scoops and Frostings.
- For extra durability, apply 2-3 coats of Polyurethane all over the tiles. Let dry between coats.
- To protect your furniture from the tile's harsh bottom, I applied a felt circle to all four corners.

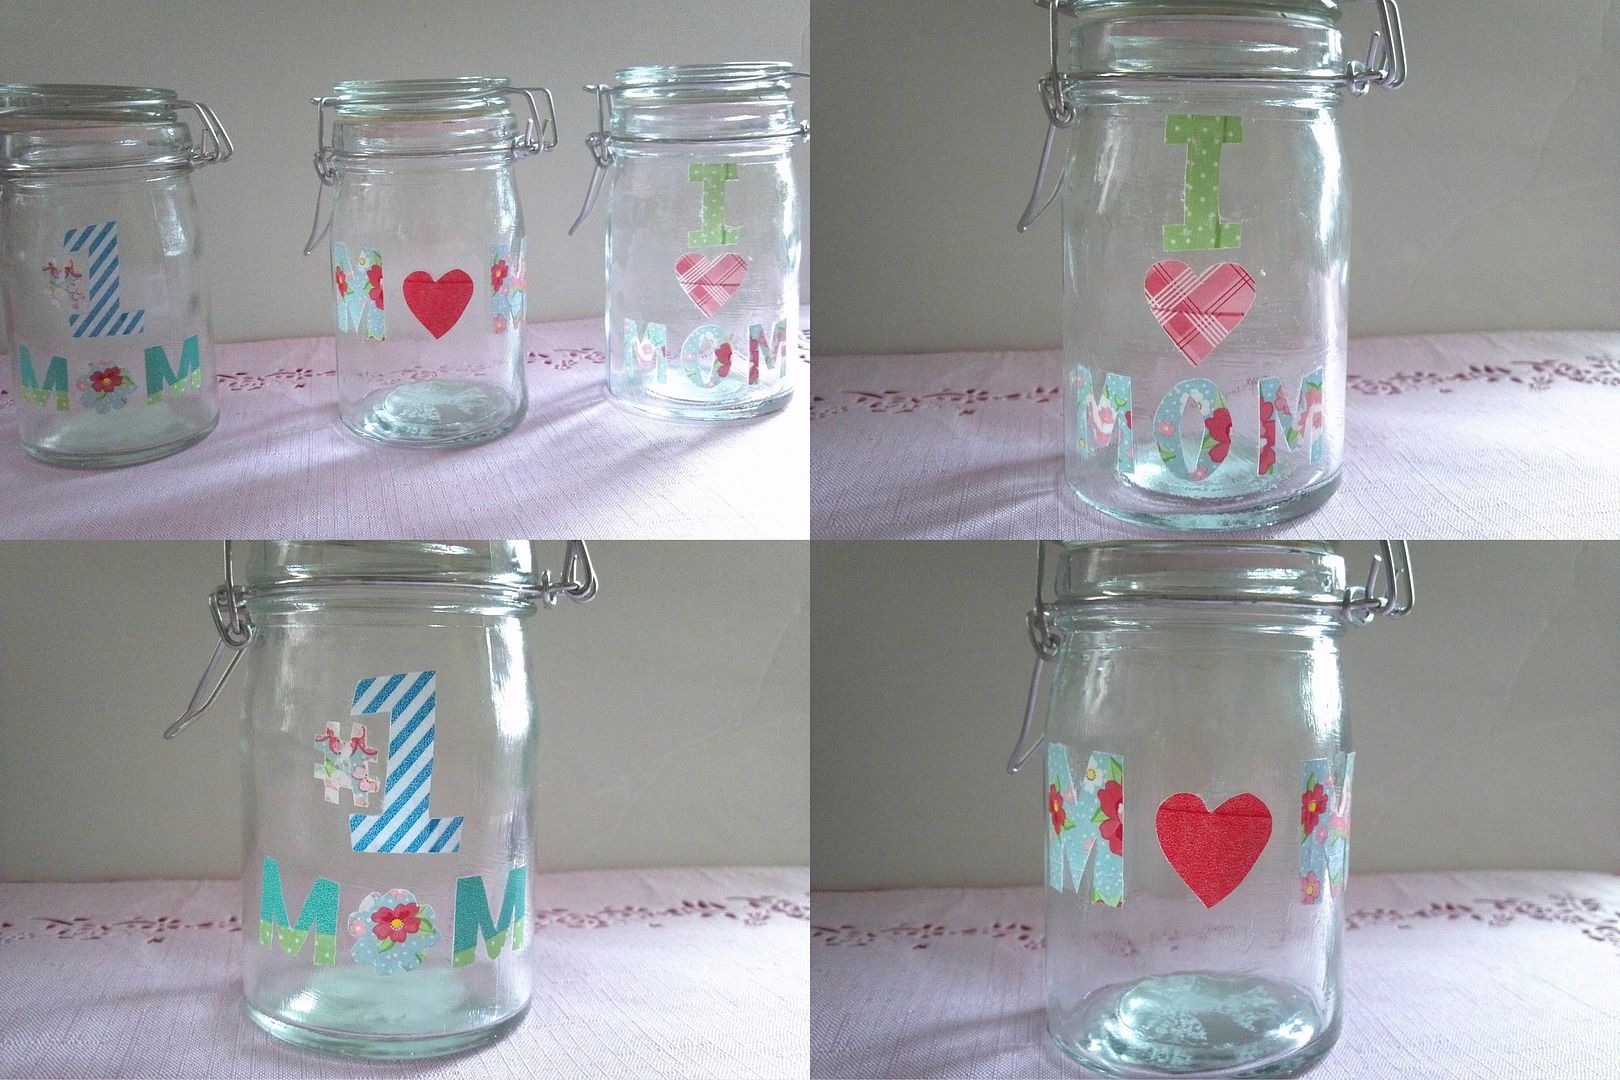
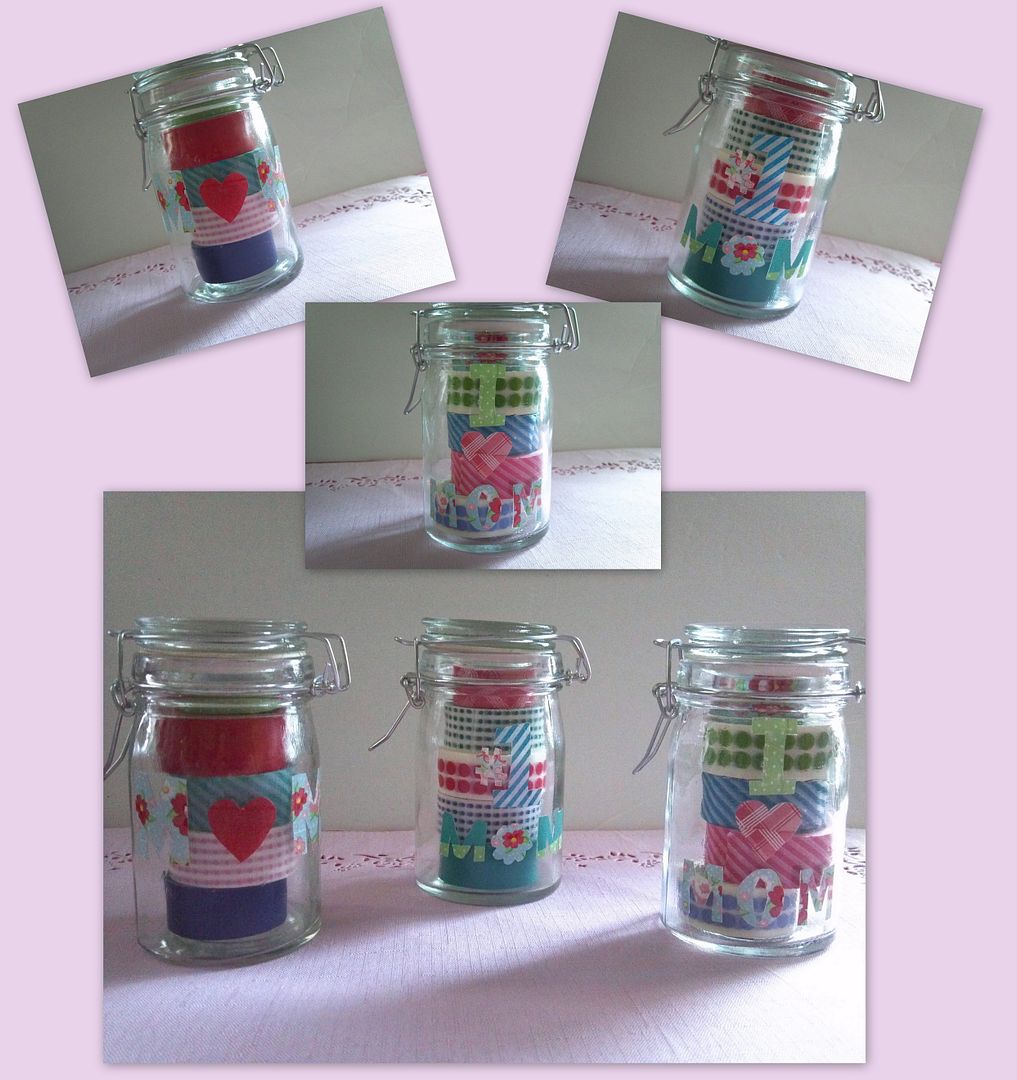
And here they are...

I now have a cute set of Tile Coasters, perfect for those Summer dinner gatherings. I hope you give this tutorial a try.
Happy Pinning!!!